Tutorial Guide
Hey there, thanks for visiting your CMS Tutorial guide. If you’ve received the link to this page, it means that you’re on your way to getting a fantastic new website!
The purpose of this page is to help give you an idea of all of the different ways we can layout content on your site. We use a Panel Concept, and you’ll be able to view the various options below.
Don’t worry; we will take care of ensuring your new site is both visually attractive and professional. This area is just a hub to help you during your content creation process. If you have any questions or need a little direction feel free to reach out to your account manager, and they will be able to help walk you through the process!
Panel 1: Standard Panel
Our Standard Panel is one of the most diverse panel options we have available. It can be used to create buttons or links, upload PDF’s and supporting documents or any other information you’d like to place here.
The formatting options available here are also complex. We will upload all of the options so that it’s easy for you to use when you’re updating all of your own content.
Header 6
Header 5
Header 4
Header 3
Header 2
Panel 2: Promo Boxes

Panel 3: Call to Action
Subtext for Call to Action panel is styled like this.
Panel 4: Standard Panel With Tabs
Content Can Appear Above the Tabs
Tab One Content
The standard panel tab concept was created to help our users split up content while keeping the page visually enjoyable for visitors.
- You can place in bullet points
- Attach photos and videos
- Create a table for information
The button tab names can be adjusted, so if you have a wide variety of services your company offers you can place it all on one page and users can easily browse through that information.
Tab Two Content
They can be utilized in a multitude of ways and can also be customized to fit your brand!
As displayed below, embedding a picture or video is no problem at all and can be a powerful tool to help compliment your content. As with a standard panel adding in links, buttons or directing the user to find out more information is all possible in this panel.
![]()
Panel 5: Parallax Panel Insert
This is a Parallax Panel!
This panel type should be reserved for a short eye catching blurb of information. As you can see, the words stay in place while the image scrolls behind it. We recommend around 85 - 100 characters in this section if possible. If you need assistance with a background image feel free to reach out to your account manager and they can help you choose one.
Another great addition is that the parallax panel allows for a button which can be a URL link, a phone number or email. Keep this in mind as it’s great for helping with lead generation!

Panel 6: Side by Side (Image)
A Short Subtitle Goes Here!
Here is an example of a Side by Side panel with an image on the right!
They are a great tool that can be used to guide the users attention.
You can place information here and also pair it with a relevant picture to display your information.
Panel 7: Side by Side (Video)
A Short Subtitle Goes Here!
Here is another example of a Side by Side but this time with a video on the left hand side!
You can envision a similar concept as above, but this time you can place a relevant YouTube or Vimeo video here to help users understand the point you are making.

Panel 8: Photo Gallery


Panel 9: Partners & Associations


Panel 10: FAQs
What is your quest?
To seek the Holy Grail.
What is your name?
It is Arthur, King of the Britons.
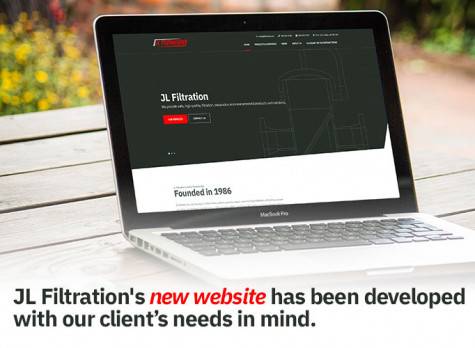
Panel 11: Newsfeed Posts
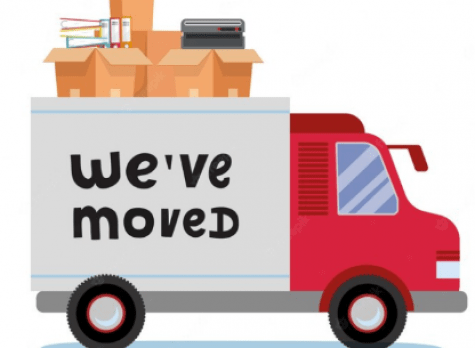

Altos Introduces New Executive-in-Residence
Panel 12: Products


Panel 13: Contact Form
Sample of a dynamic panel with a contact form included.
Panel 14: Order Form
Dynamic order form.